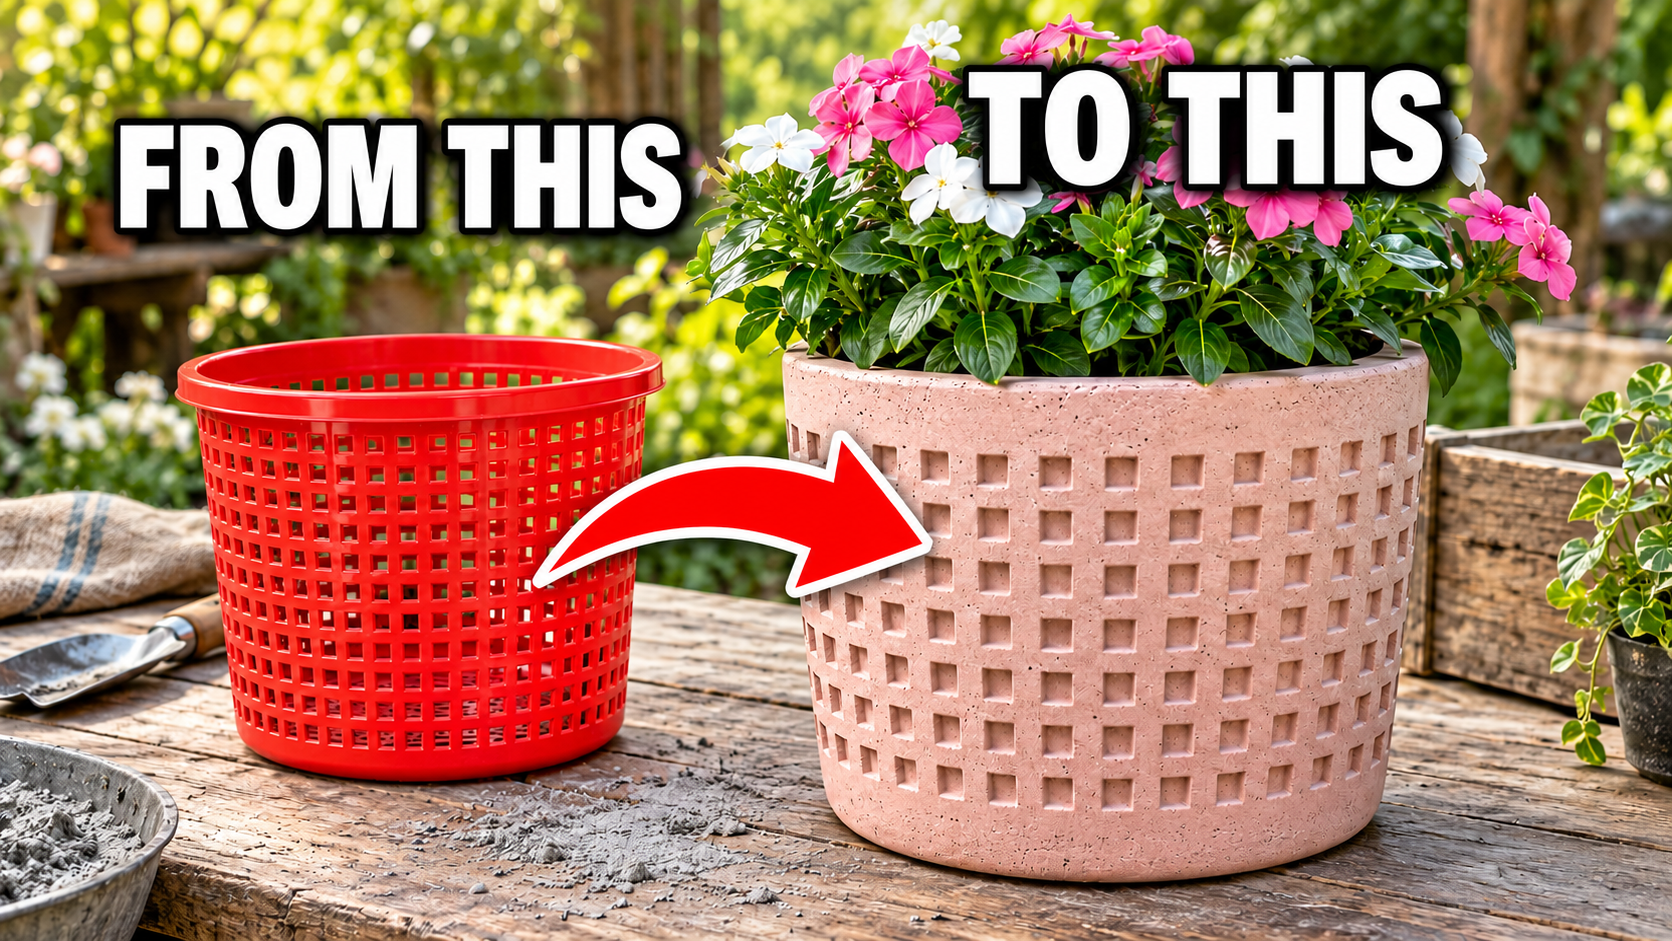
Turn a Plastic Basket into a Decorative Planter
Create your own garden decoration using a plastic basket as a mold!
What you’ll need:
* A flexible plastic basket with a simple pattern
* Plastic wrap
* A smaller plastic pot with drainage holes temporarily covered
* Fine concrete mix suitable for thin castings
* Water, a mixing bucket, and a trowel
* Mold-release oil suitable for concrete
* Gloves, safety glasses, and a dust mask
* Sandpaper and exterior masonry paint
1. Prepare the mold.
Wrap the outside of the basket tightly with several layers of plastic wrap, covering every opening to prevent leaks. Apply a thin layer of mold-release oil inside the basket and around the outside of the smaller pot.
2. Mix the concrete.
Follow the water ratio on the concrete packaging. Mix until uniform and workable. Avoid adding extra water just to make pouring easier.
3. Form the base.
Place the basket upright on a level surface. Add a layer of concrete to the bottom, following the product’s minimum casting thickness.
4. Create the hollow center.
Position the smaller pot in the middle, leaving an even gap around it. Keep it above the basket’s bottom so your planter has a solid base. Add a weight inside the smaller pot to prevent it from floating.
5. Fill the sides.
Gradually pour concrete into the gap between the two containers. Gently tap the basket to release trapped air, then smooth the top edge.
6. Allow it to harden.
Keep the mold protected from direct sun and follow the concrete manufacturer’s curing and demolding instructions. The video speeds up this stage; it is not instant.
7. Remove the molds.
Carefully loosen the inner pot and remove the outer basket. Concrete may lock into the basket’s openings, so the basket might need to be cut away instead of simply lifted off.
8. Finish and decorate.
Smooth rough edges once the concrete is ready. Let it cure sufficiently before applying compatible masonry paint in your favorite color.
9. Add your plant.
For the simplest setup, use your creation as a decorative outer pot. Place a plant inside in its own draining nursery pot and empty any collected water after watering.
Your handmade planter is ready for the patio, balcony, or garden!
Leave a Reply