How to Turn Old Tires into a Motorcycle Garden Decoration
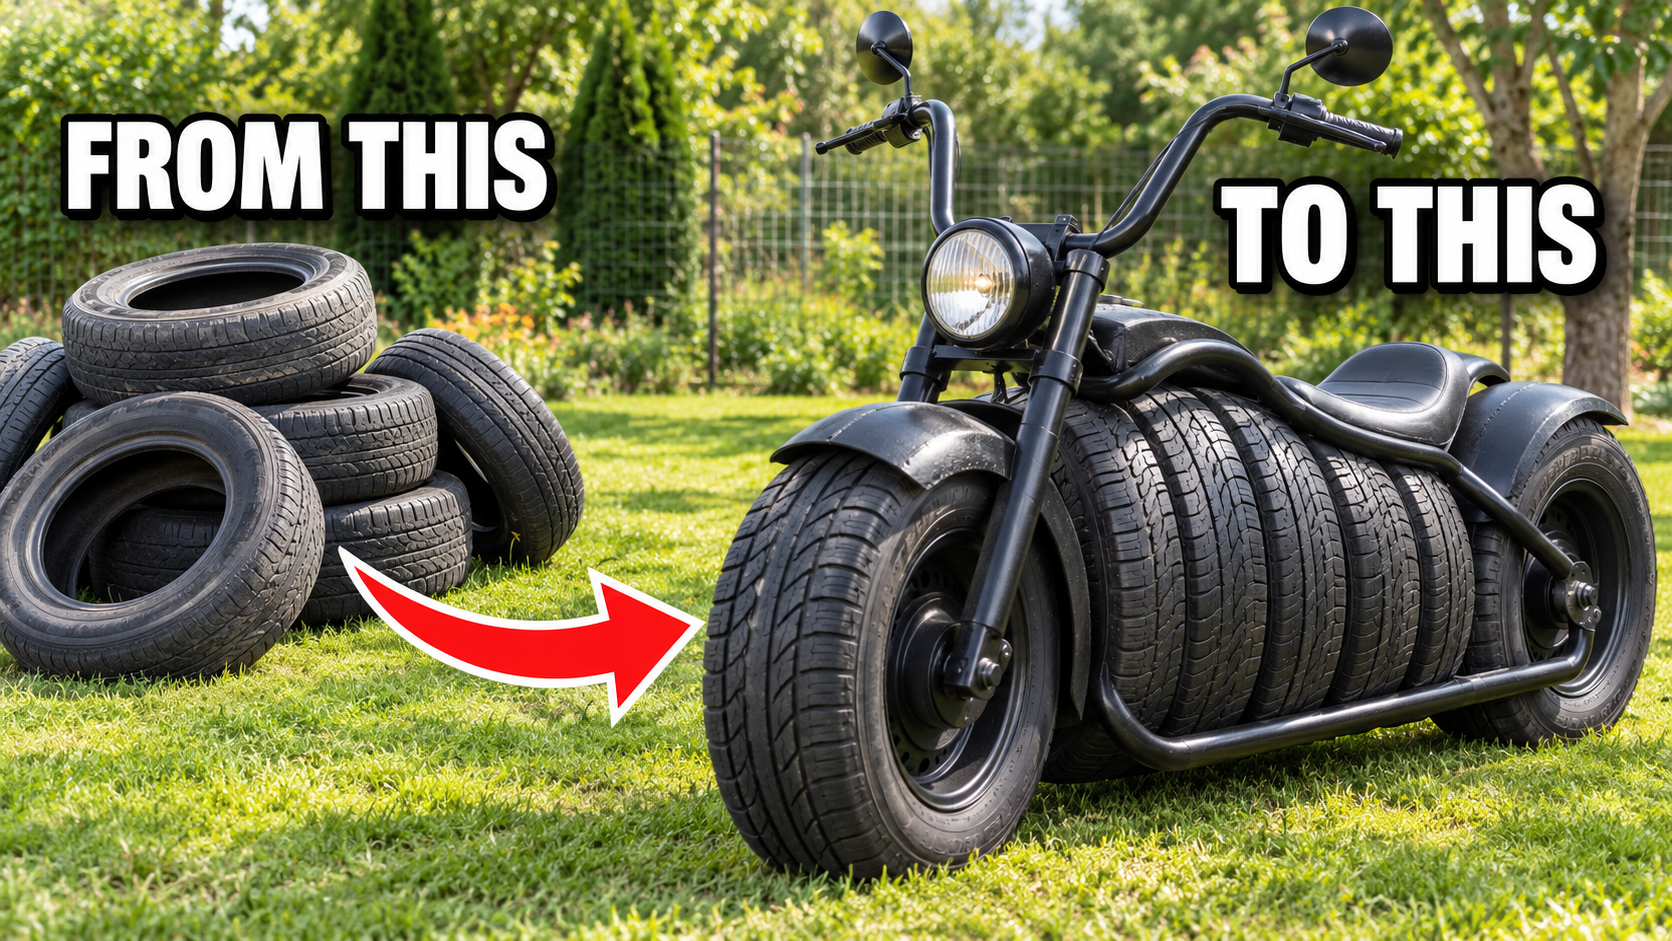
Give old tires a new purpose by creating a motorcycle-inspired garden sculpture. This guide explains the design shown in the video, with practical additions for a stationary display. The video does not provide measurements or a complete structural assembly plan.
What you’ll need:
* Used tires, cleaned and free of exposed steel cords
* A sturdy base and supporting frame
* Bolts, nuts, wide washers, and suitable brackets
* A drill with appropriate bits
* A prefabricated curved seat or shaped decorative panel
* Salvaged handlebars, mirrors, and a headlight
* Lightweight decorative fenders and front fairing
* Exterior coating suitable for rubber, if painting
* Protective gloves and safety glasses
1. Clean the tires.
Scrub away dirt with soapy water, rinse, and let everything dry. Inspect each tire and avoid damaged pieces with exposed sharp wire.
2. Arrange the main body.
The video places several tires upright, side by side, to form a low, wide body. Position them temporarily before fastening anything, checking that the arrangement resembles the middle section of a motorcycle.
3. Provide a stable support.
For a home version, secure the display to a sturdy base with a supporting frame. This important detail is not shown in the video. Prevent the upright tires from rolling or tipping.
4. Connect the body tires.
The video shows drilling and fastening through the tire tread. Where accessible, use through-bolts with wide washers and nuts rather than relying only on screws gripping the rubber. Keep all sharp ends covered.
5. Create the curved upper section.
A loop-shaped rubber section appears above the main body, followed by a smooth saddle-like surface. The video does not explain how these shapes are made. Use a prepared curved panel or salvaged seat supported by the frame; do not expect an ordinary tire to bend into that shape easily.
6. Position the front and rear tires.
Place an upright tire at each end to establish the motorcycle silhouette. Secure both to the supporting structure so they remain stationary.
7. Add the front fork and handlebars.
The finished design includes a fork-shaped front assembly and tall handlebars. Attach these to the frame using suitable brackets. They are decorative components, not a working steering system.
8. Fit the headlight and mirrors.
Mount a salvaged headlight between the front supports and add mirrors to the handlebars. The headlight can remain unpowered as a decorative feature.
9. Add the body panels.
Install a lightweight front fairing above the headlight and a curved fender over the front tire. Secure every panel and smooth or cover sharp edges.
10. Finish the surface.
Keep the original black rubber appearance or apply a coating specifically compatible with rubber and outdoor exposure. Follow its preparation and drying instructions.
11. Set up the display.
Place the sculpture on firm, level ground and check every attachment for movement. Avoid pockets that collect rainwater inside the tires.
The result is a motorcycle-inspired garden feature made from repurposed materials. Treat it as a stationary decoration. Sitting or climbing on it requires a separate load-bearing design—the video does not establish that it is safe for either.
Leave a Reply